
|
|
Unlike other graphic editors, Comic Life was designed for making comics. So making a simple caption is incredibly easy. There are lots of features in the program that will let your creativity run wild, but here, we're just going to stick to the basics. To try a free demo, click here. Now here's what we're going to do to make a small caption... |
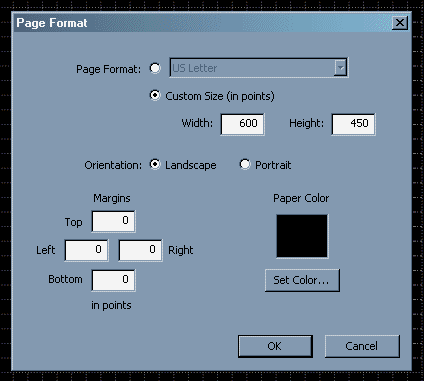 Once you open you program, go to File>>Page Format. A window will popup. There you can change all the settings for the size of you caption. Here we've selected a Custom Size 600 x 450, a landscape orientation, set the margins to zero, and set all the page color to black. |
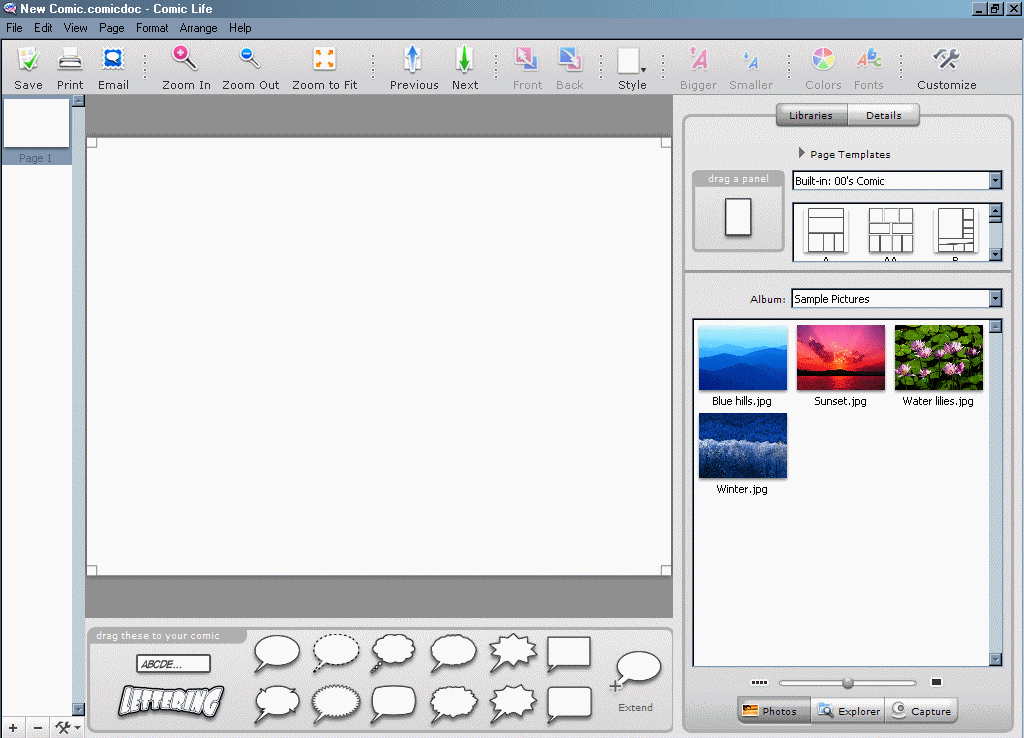 Once you hit the OK button, you resulting work area should look like this. |
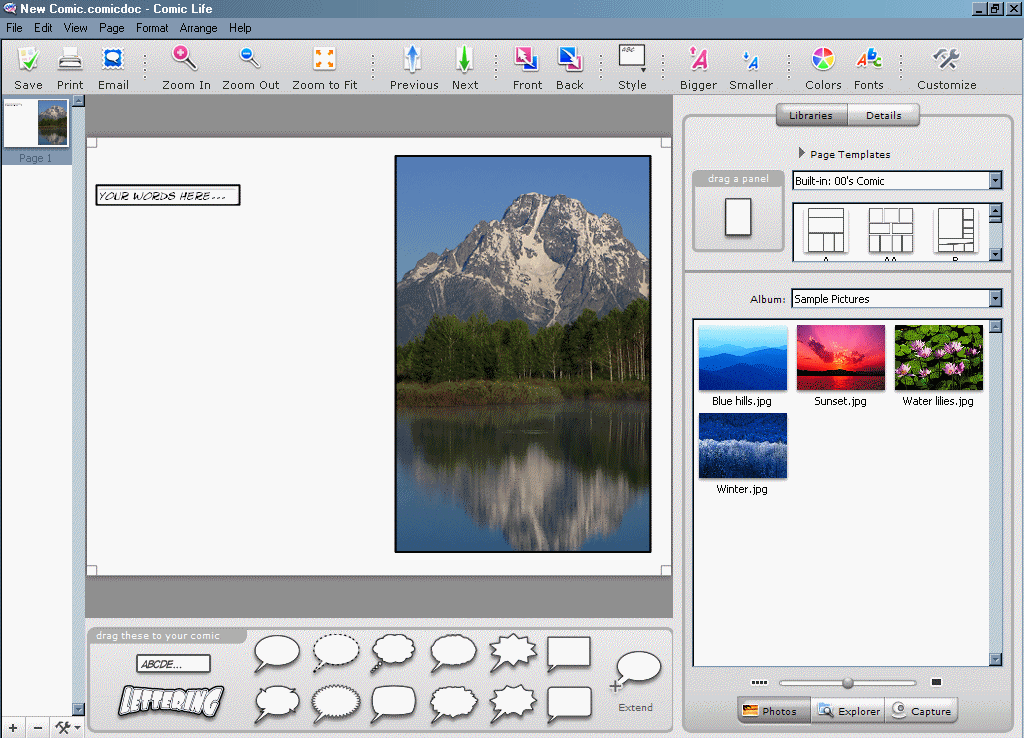
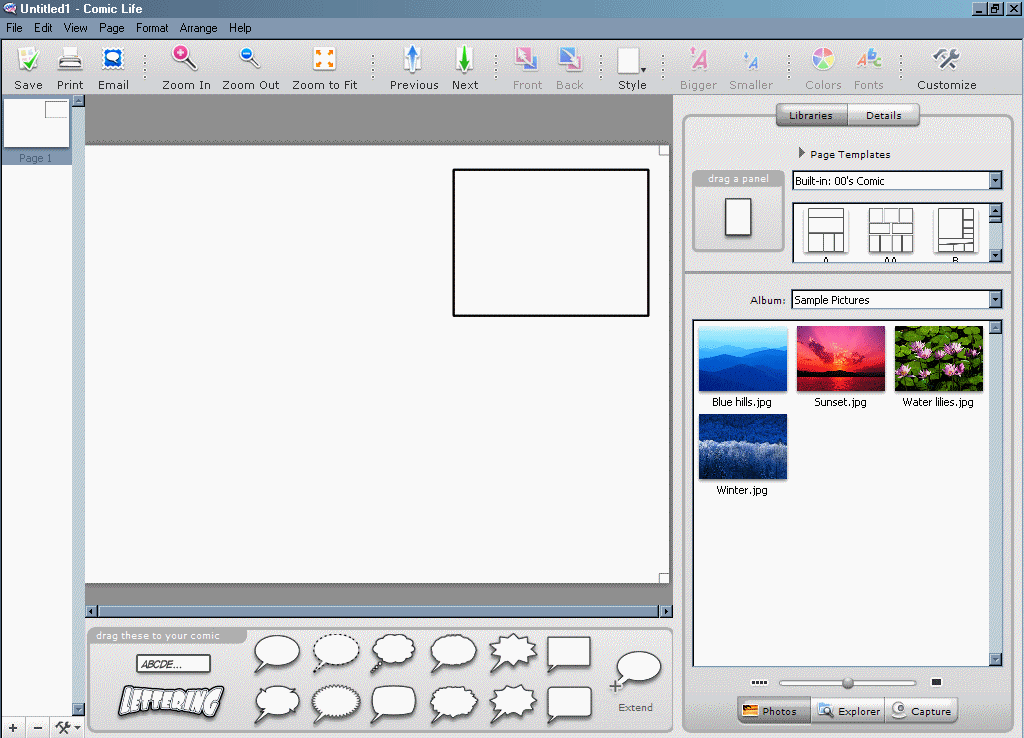 To add a picture. Go to the drag a panel box on the right hand menu and drag it onto your work area. |
 You can manipulate it anyway you want until you happy with the end product |
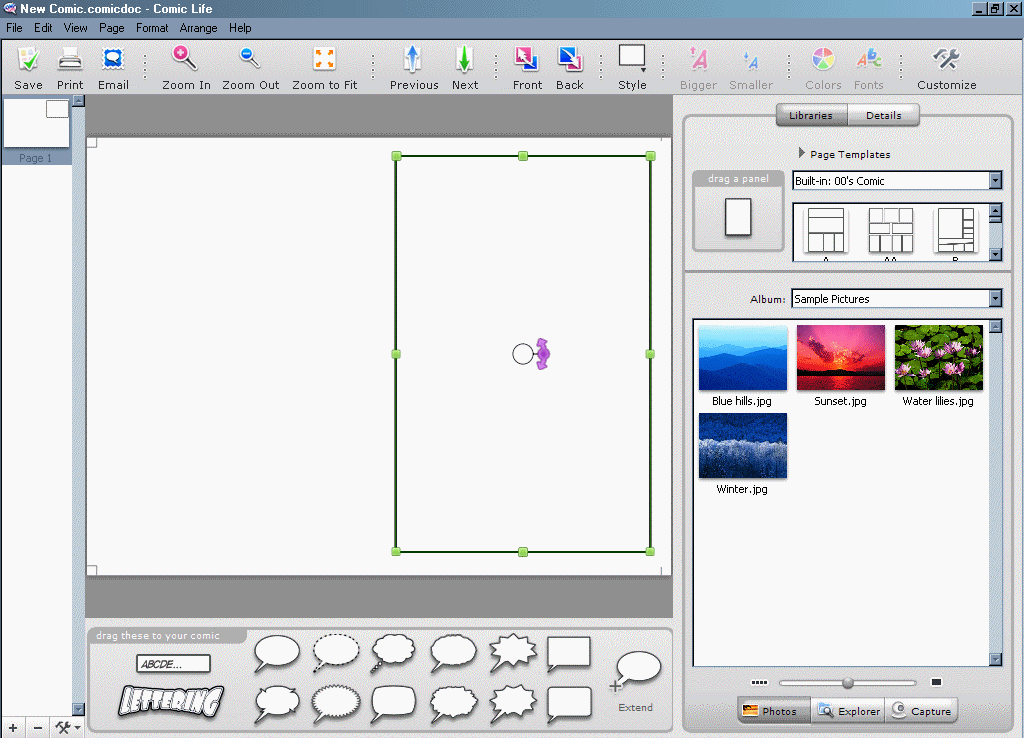 Here we stretched the box so that it takes up half the work area. Once you like the size of your box, find the location of your picture. |
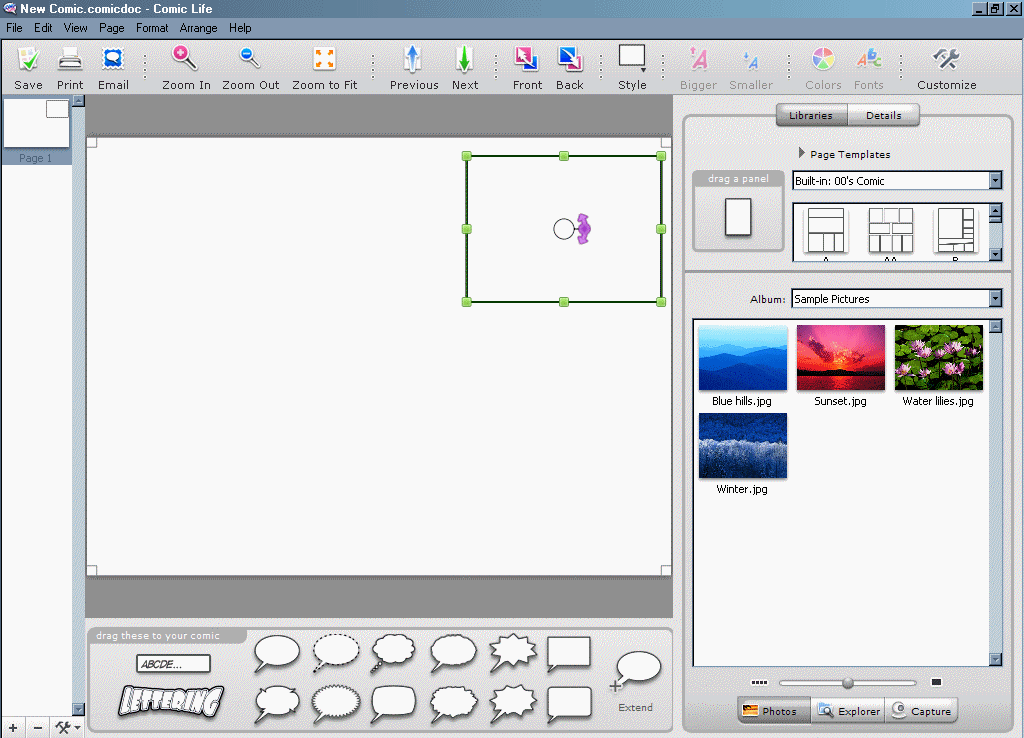
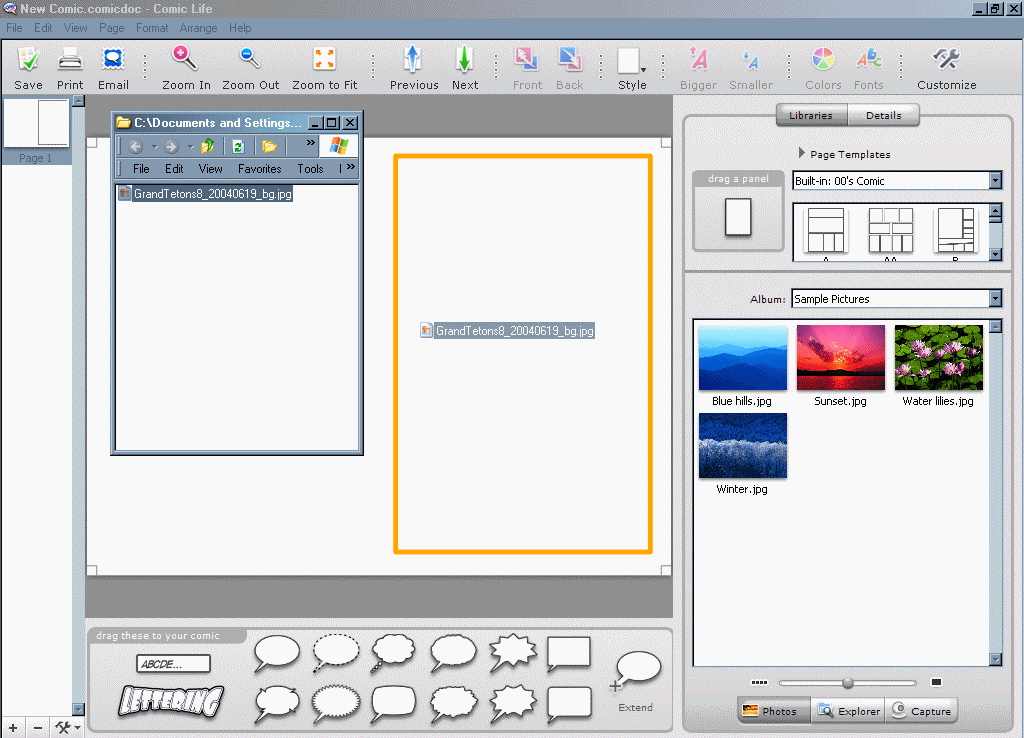 Left click and hold down the mouse button, drag it into the picture box and release the button. Then you're all set. |
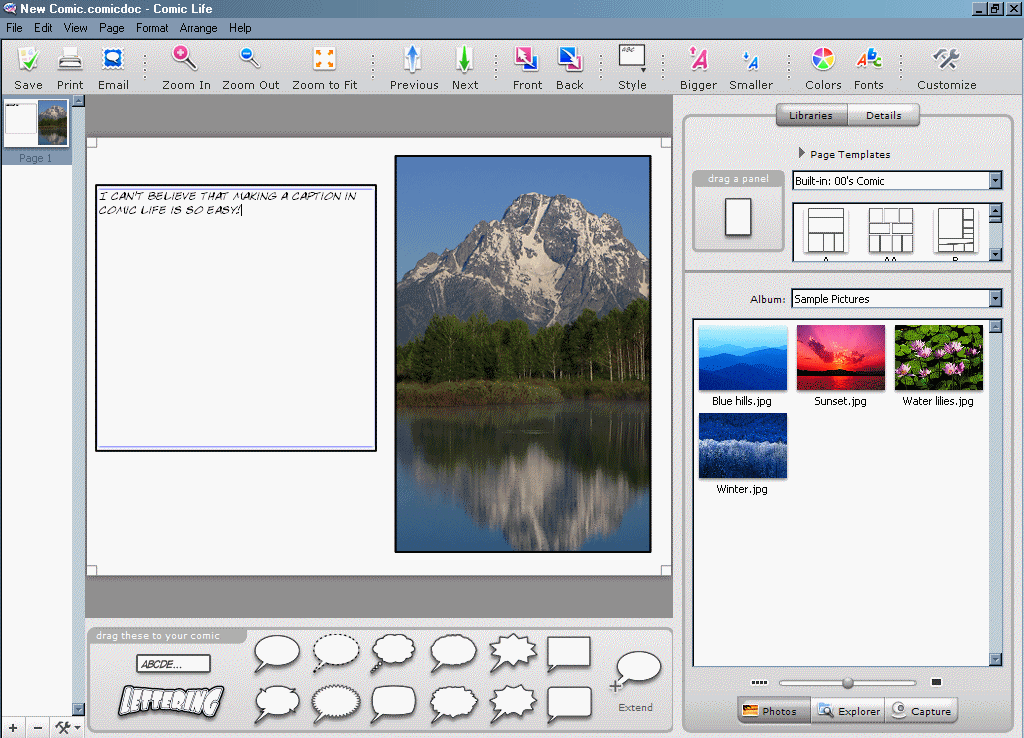
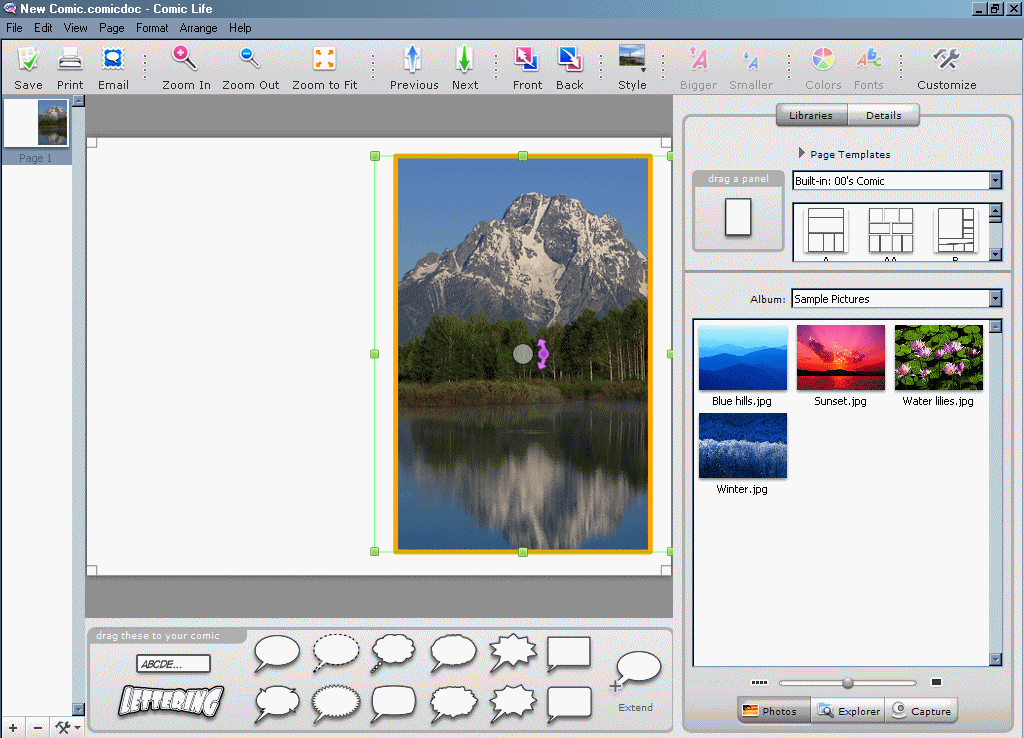 With the picture in place, you're ready to add text. |
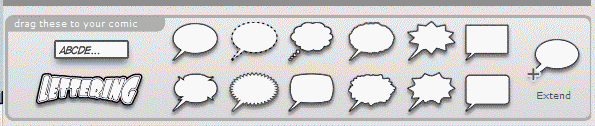 To add text were going to drag a text box onto the work area from the bottom tool bar. |
 Select the box with letters in it, hold down the left mouse button, drag it on to your work area and release the button. |
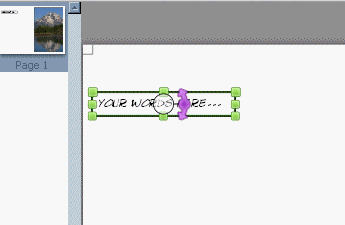 When you do the box will change and there will be the phrase YOUR WORDS HERE... inside it. |
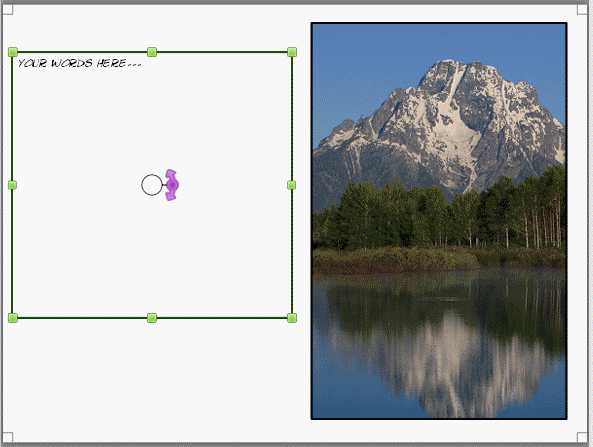 If you left click once, the box will have a green border around it. Select ant part of border and manipulate the box until it is the size you'd like it to be. |
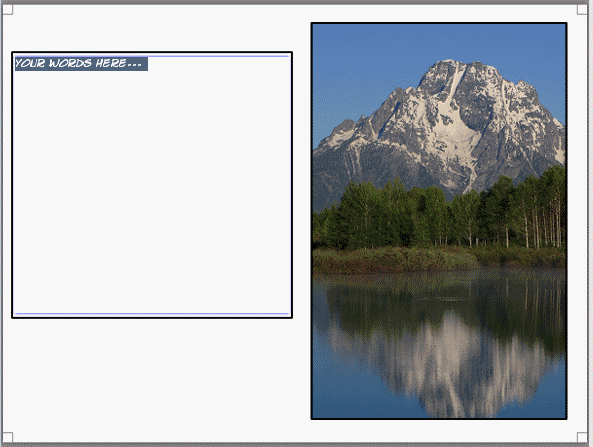 Double click inside the box inside the box and start typing. |
 Click outside the box when you're done and you're finished! |
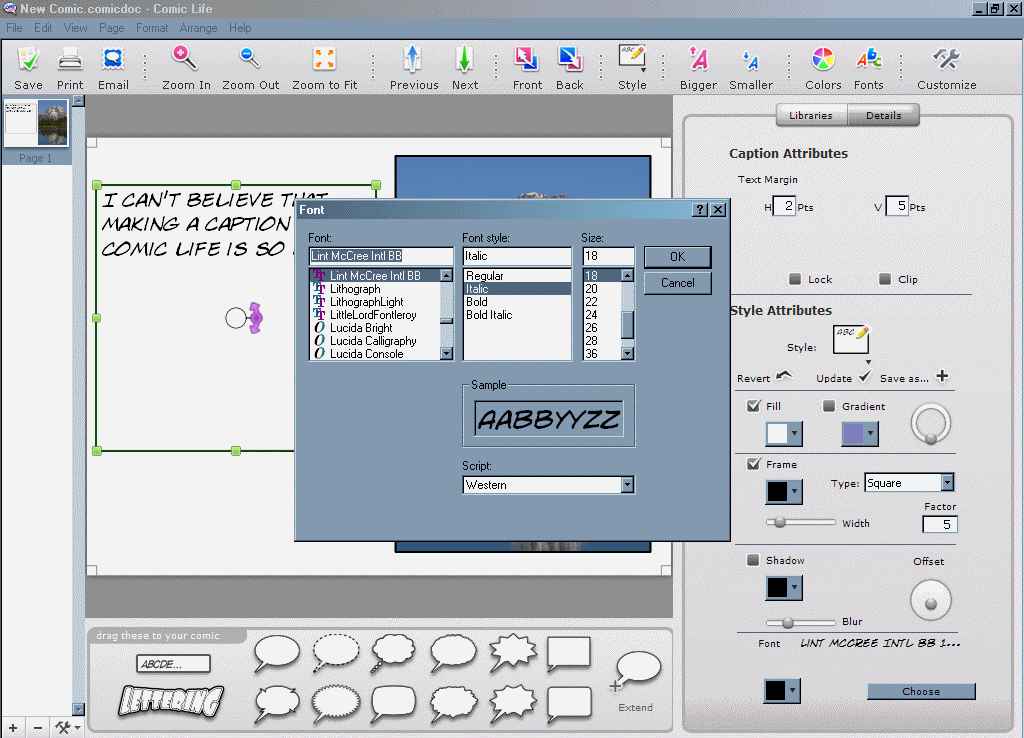 To resize the text, click the text box and select the Details button at the top of the right hand menu. At the bottom, select the choose button and a Font window will appear. From there you can do anything you want to you font. |
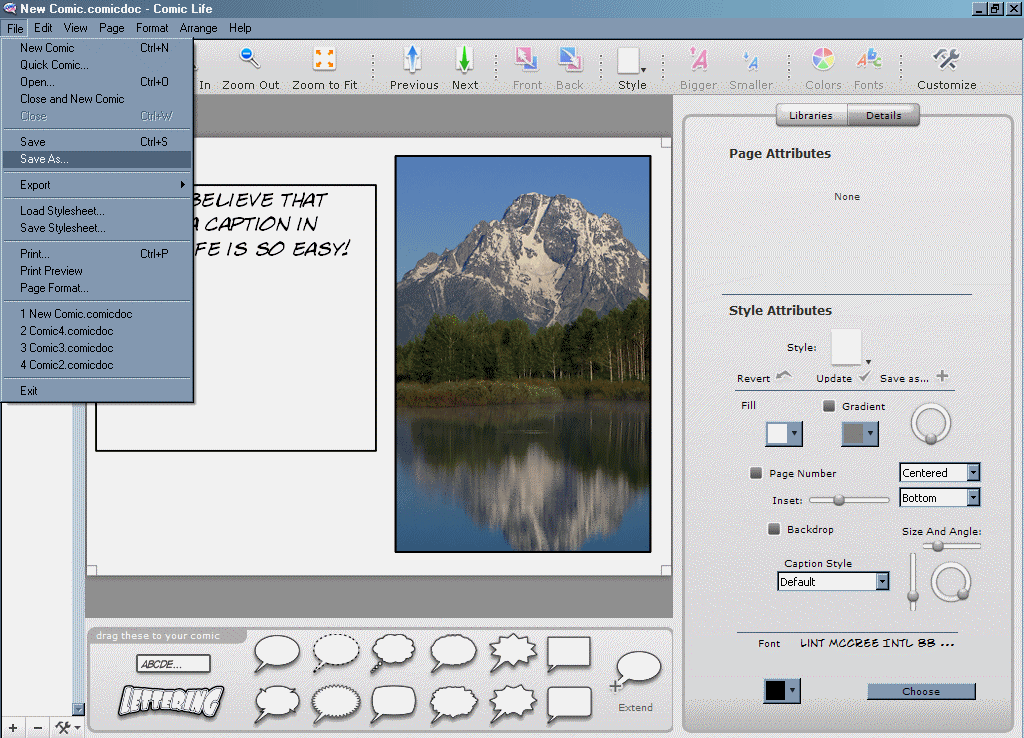 The only thing left to do is to save your caption. Go to File>>Save As. |
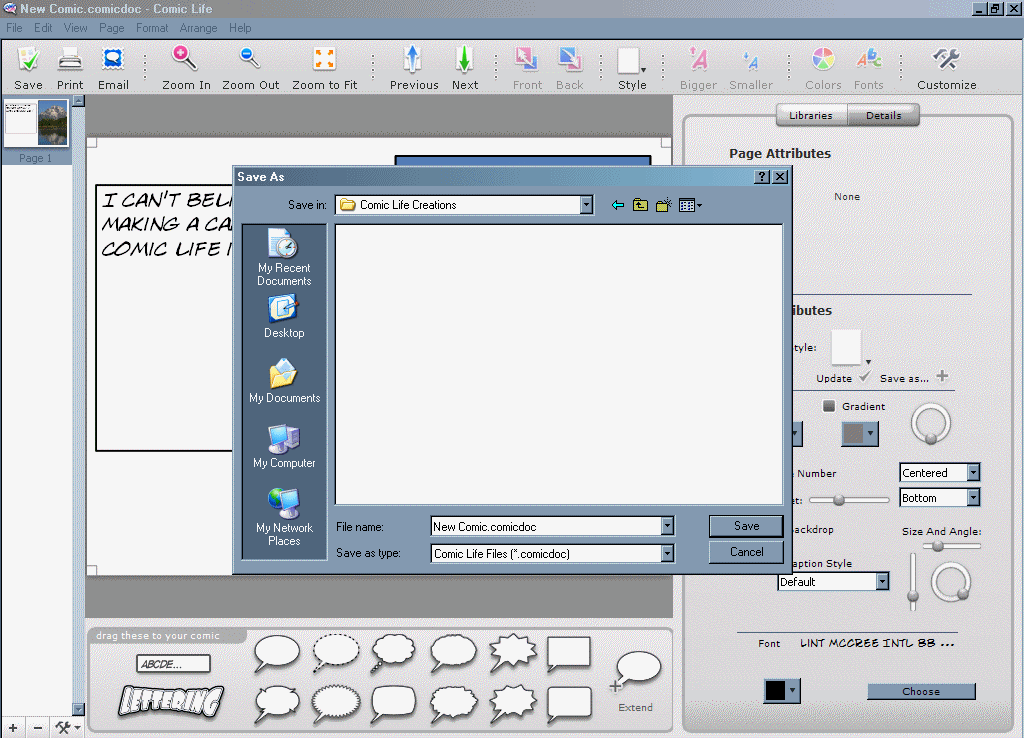 Determine where you want to save it, give it a name and hit save. |
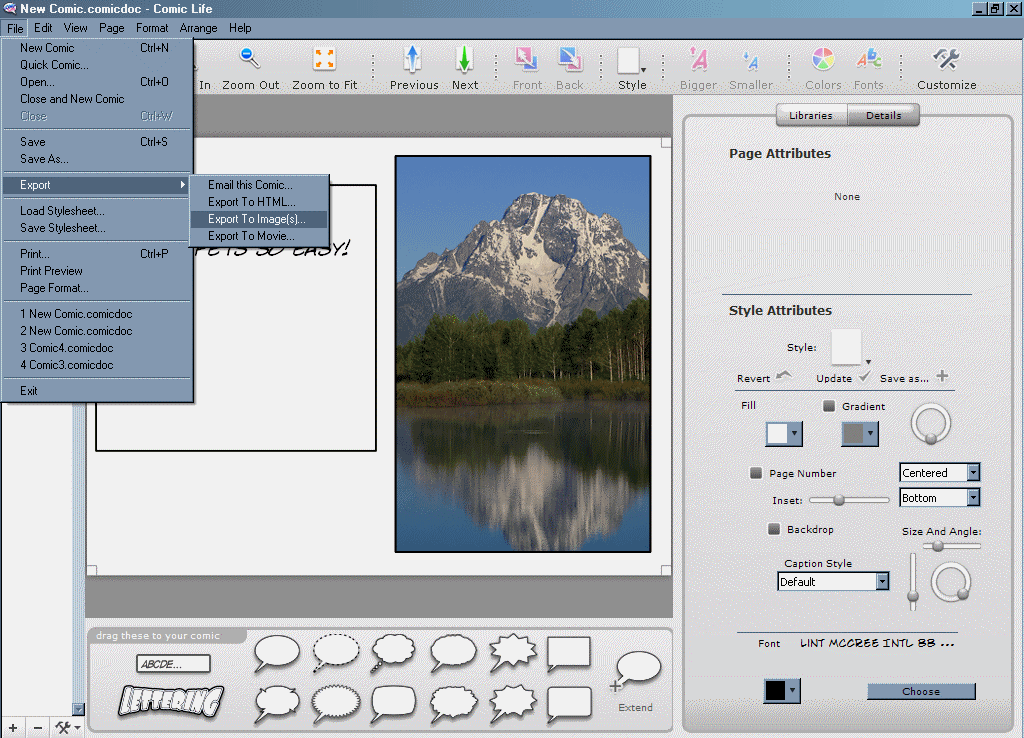 Now to publish that as a bitmap, JPEG, GIF, TIFF, or PNG file, go to File>>Export>>Export to Image(s). |
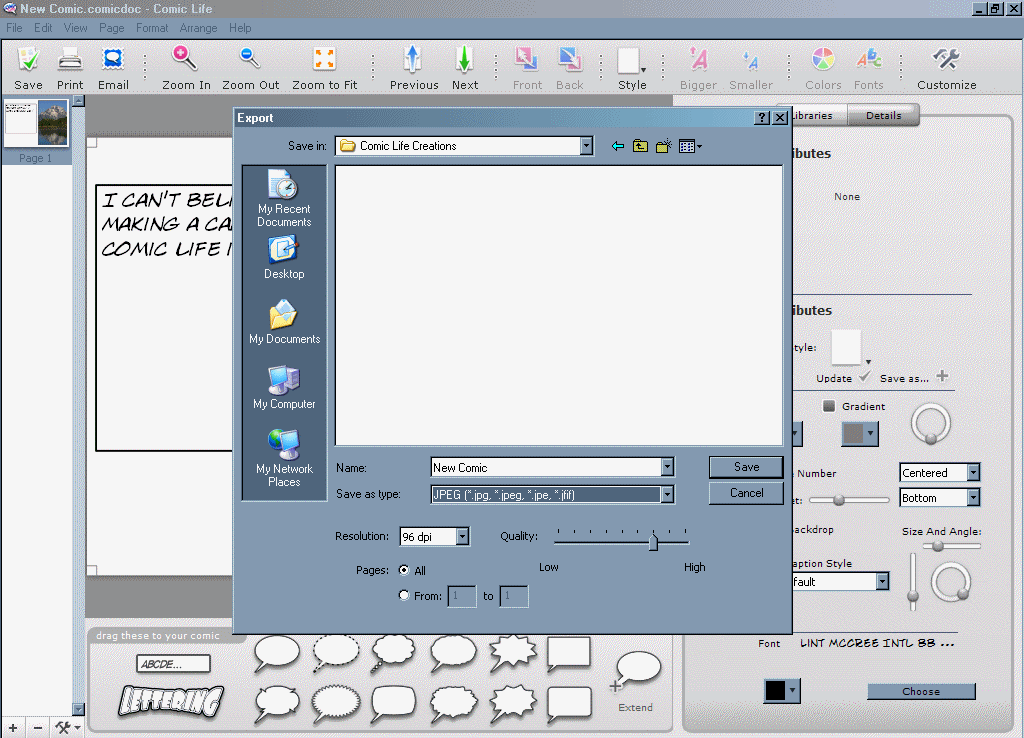 A window will appear that will give you several options including file type, quality and resolution. Once you've made your selections, select save and that's it! |
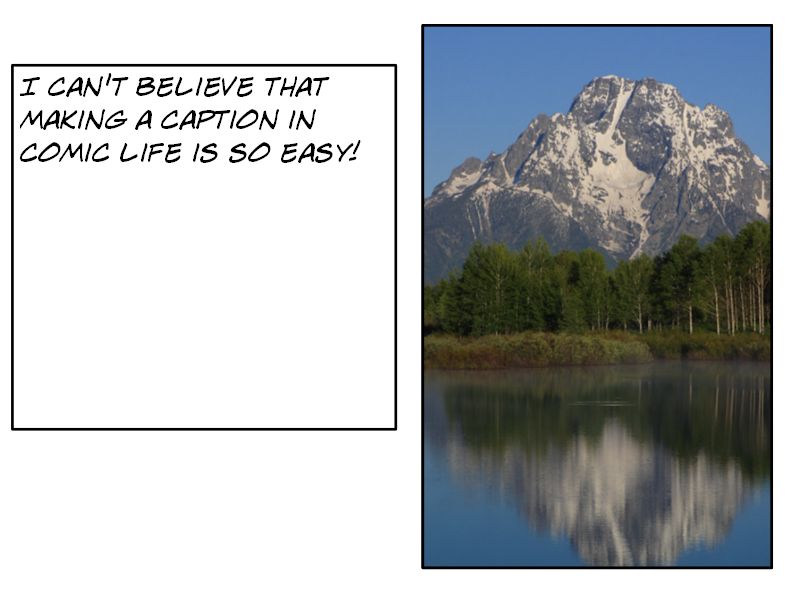 You just made a caption in Comic Life. Now you can make more and share them with everyone! |