|
|
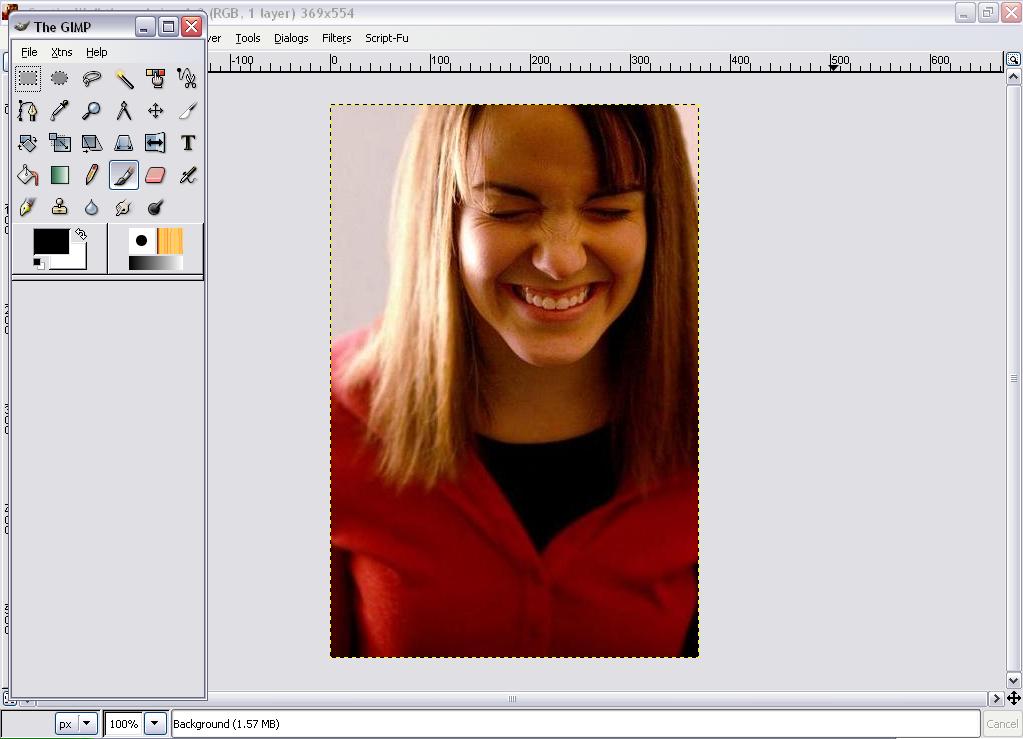 Open the picture you want to caption in GIMP. |
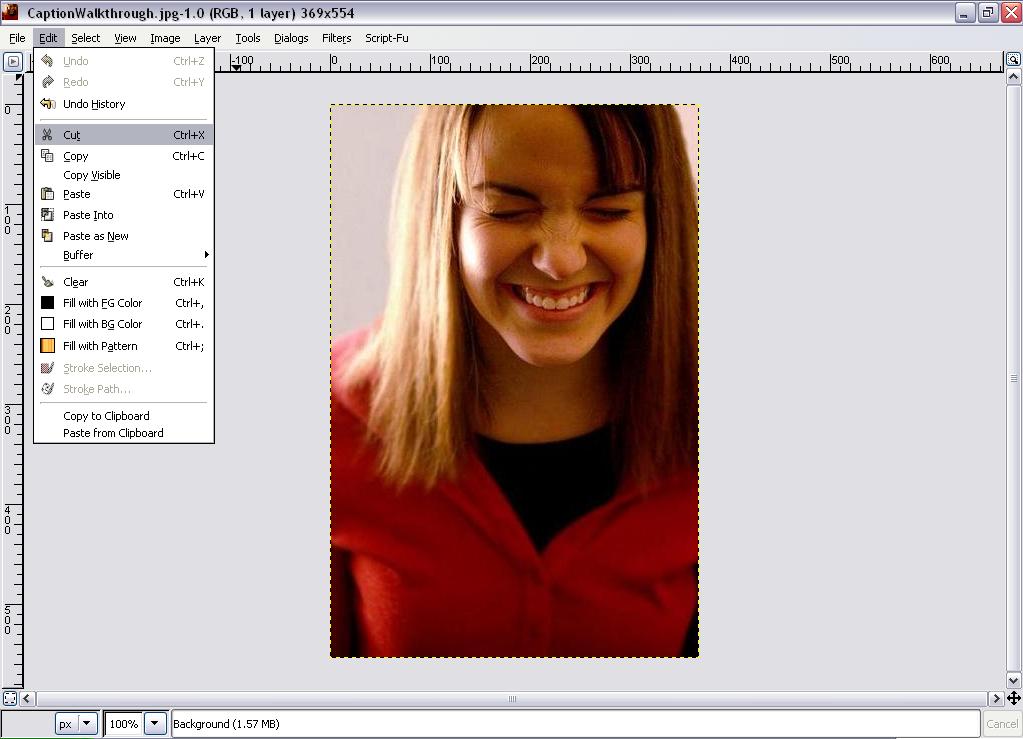 Once you have your picture, go to the edit menu, and select 'Cut'. This gives us a clear canvas with the dimensions of our raw picture. It makes it easier to be sure the pic will fit. |
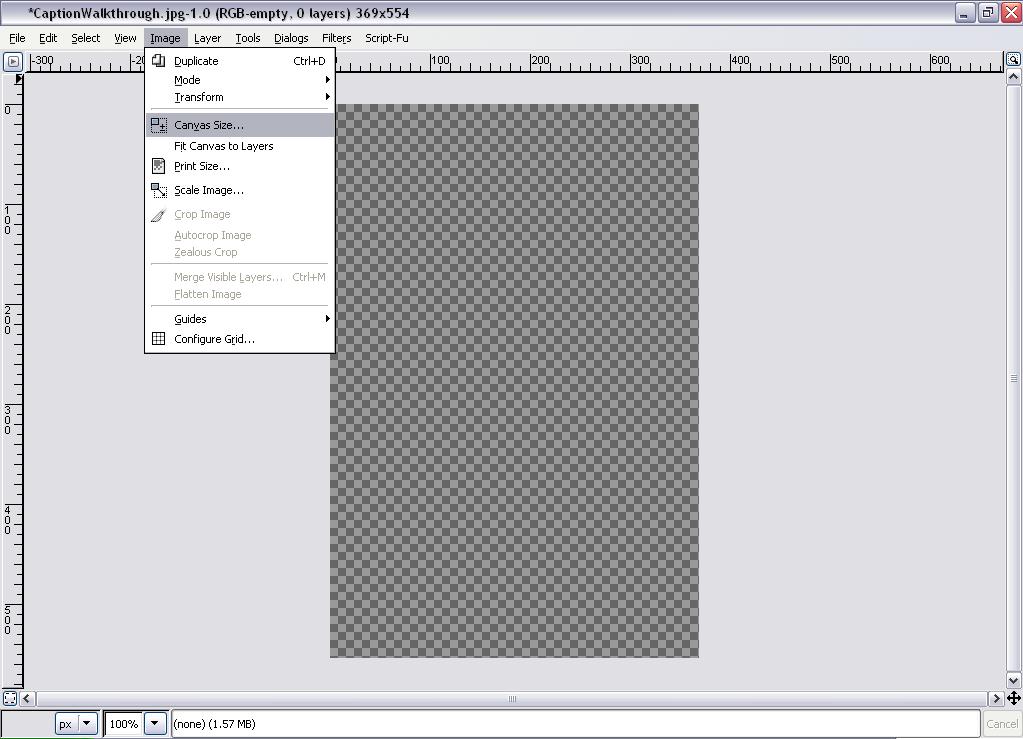 When you see your canvas, click on the 'Image' menu, and select 'Canvas Size'. You should see a menu that has the height and width of the canvas. |
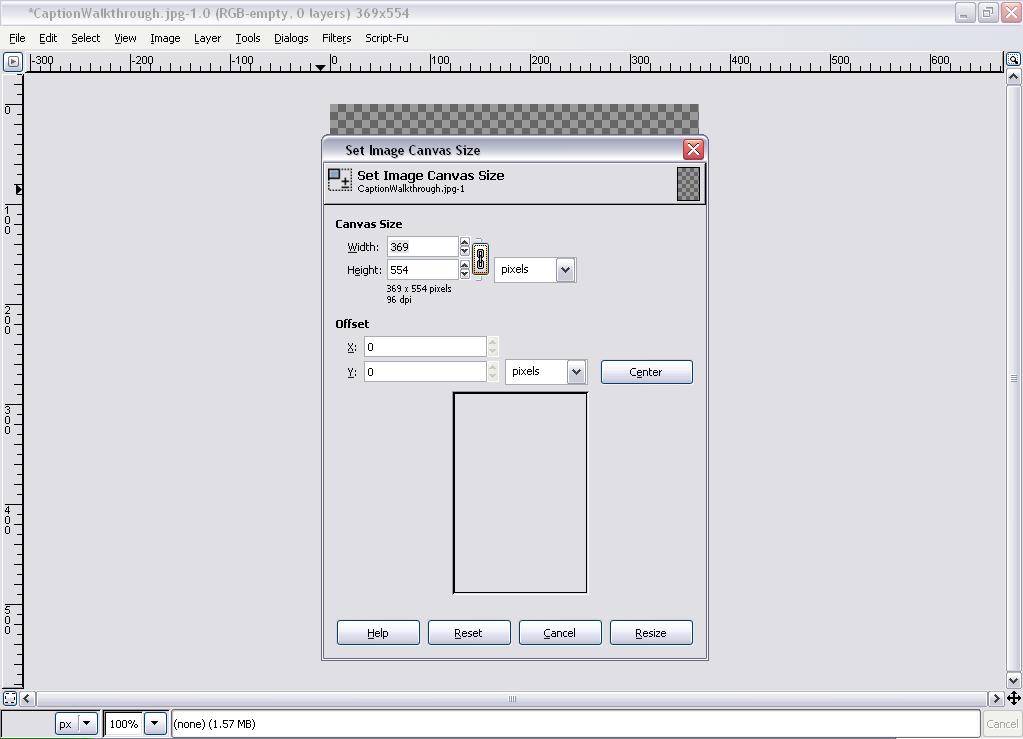 Next to the height and width, there's a little chain. Click on the chain to delink the height and width. |
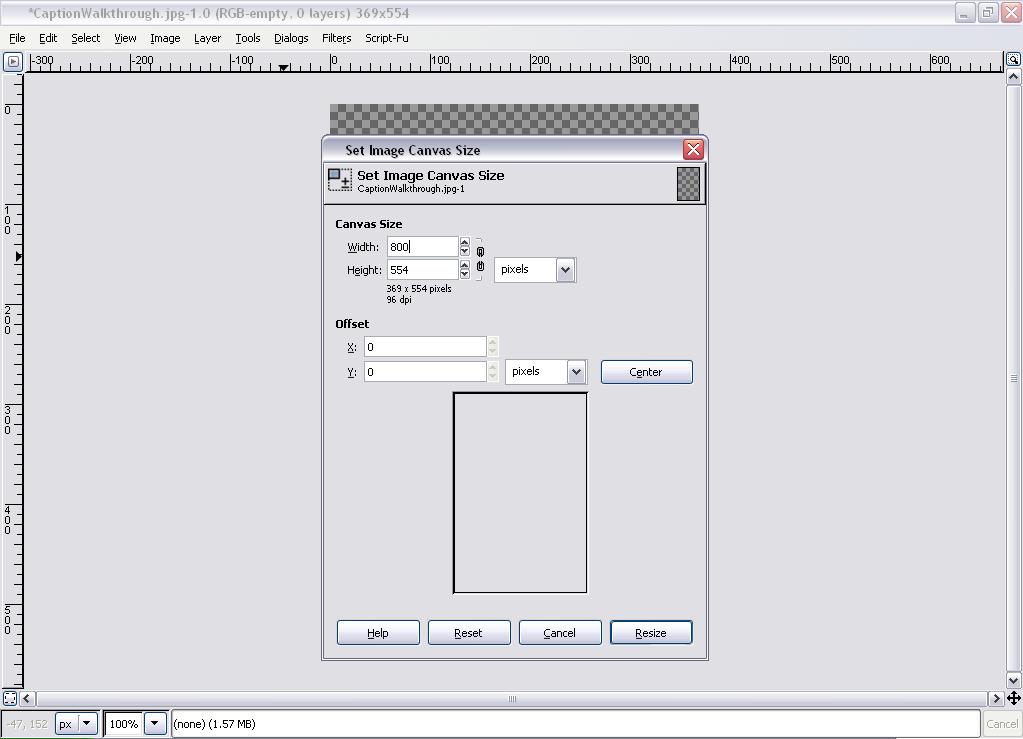 After that, you can change either at will. Since I want to place my caption on the side, I changed my width to 800 pixels. |
 See how big my canvas got? |
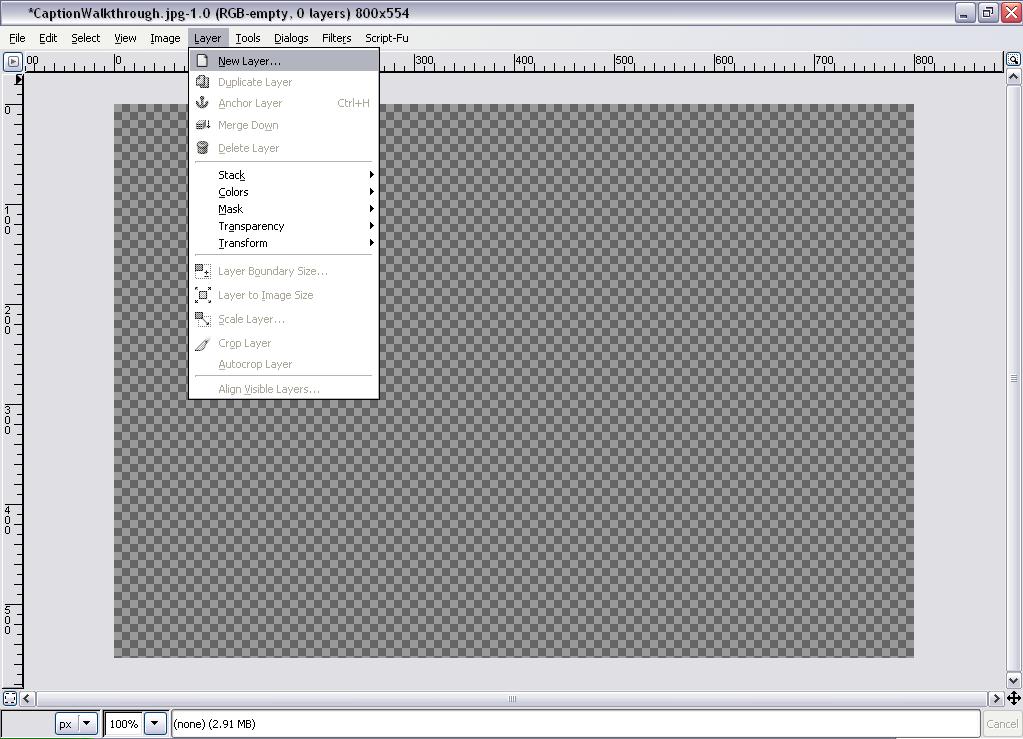
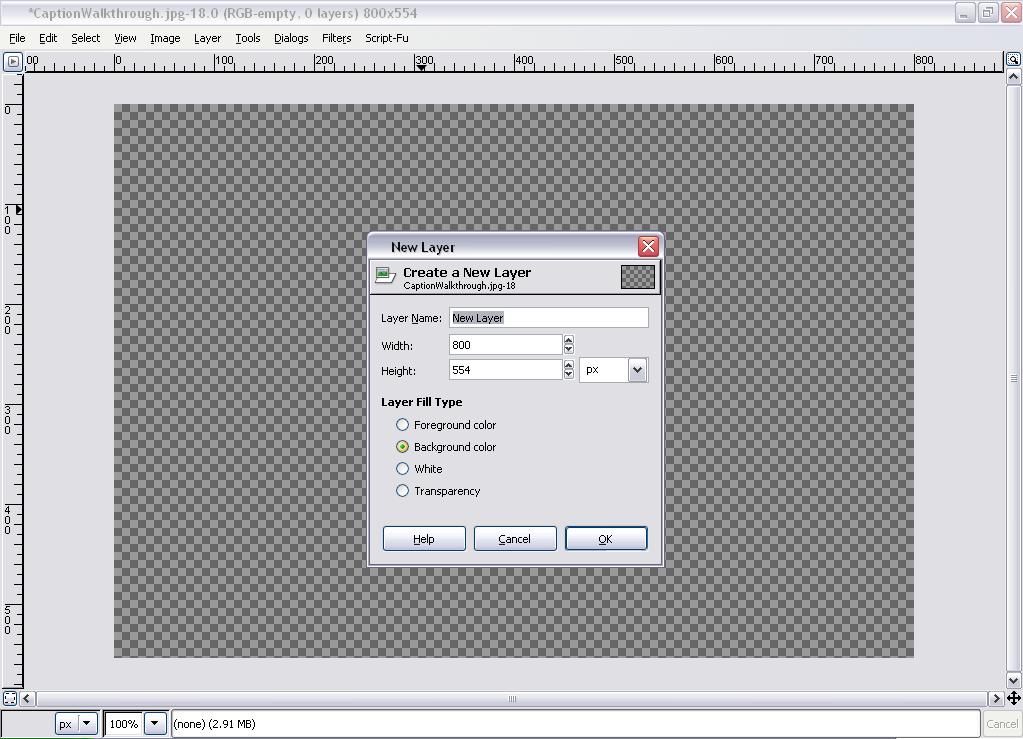 Okay, now go to the 'Layer' menu, and select 'New Layer'. You'll get a menu with 4 different types of layers, choose the background option. |
 This will turn the canvas into a white field, which you can turn any color you want using the bucket tool. I turned mine black. |
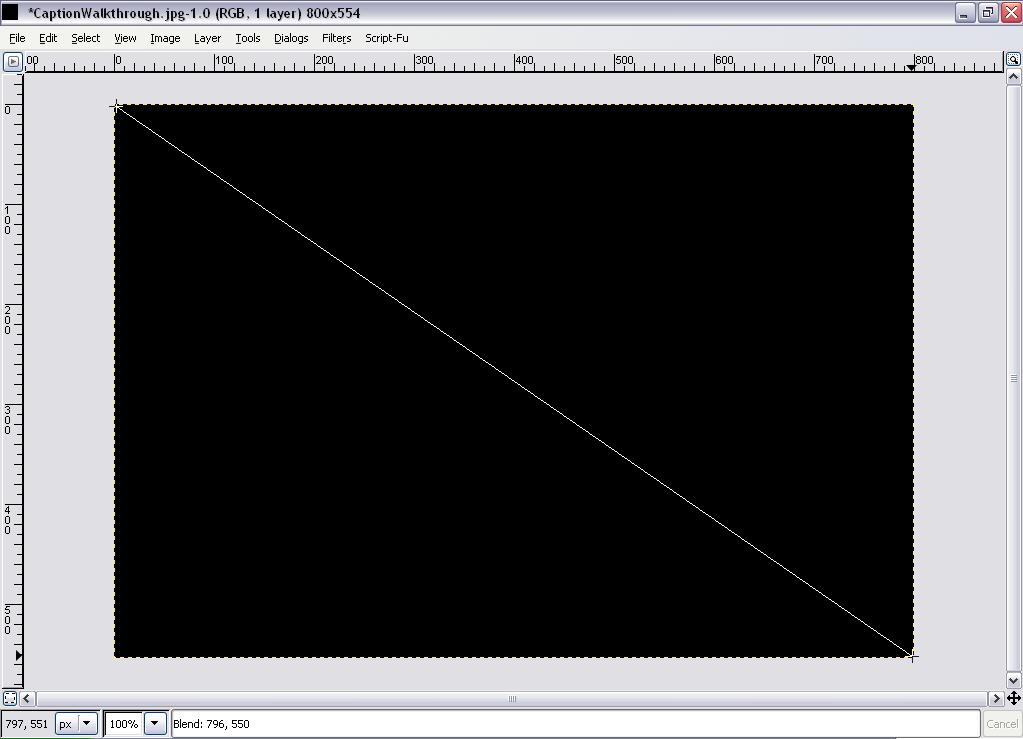 But GIMP has other options including a color gradient. The tool is right next to the bucket.Choose the 2 colors you want to use, for this demo I'm using Black and White. Click on the image, and drag the cursor in the direction you want your color shift, I want mine diagonal. |
 Release the button, and voila! Now my background is ready for the picture! |
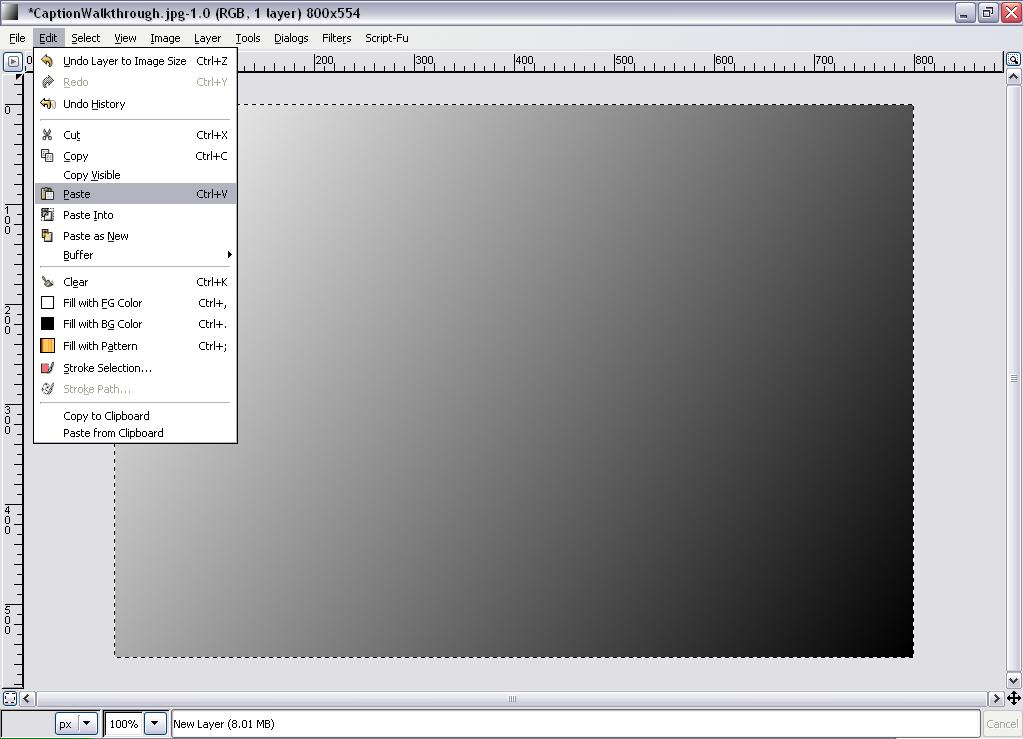 Now that we have a background, go to the 'Edit' menu select 'Paste.' |
 This will put your picture over the background you just made, positioned in the middle of the canvas. |
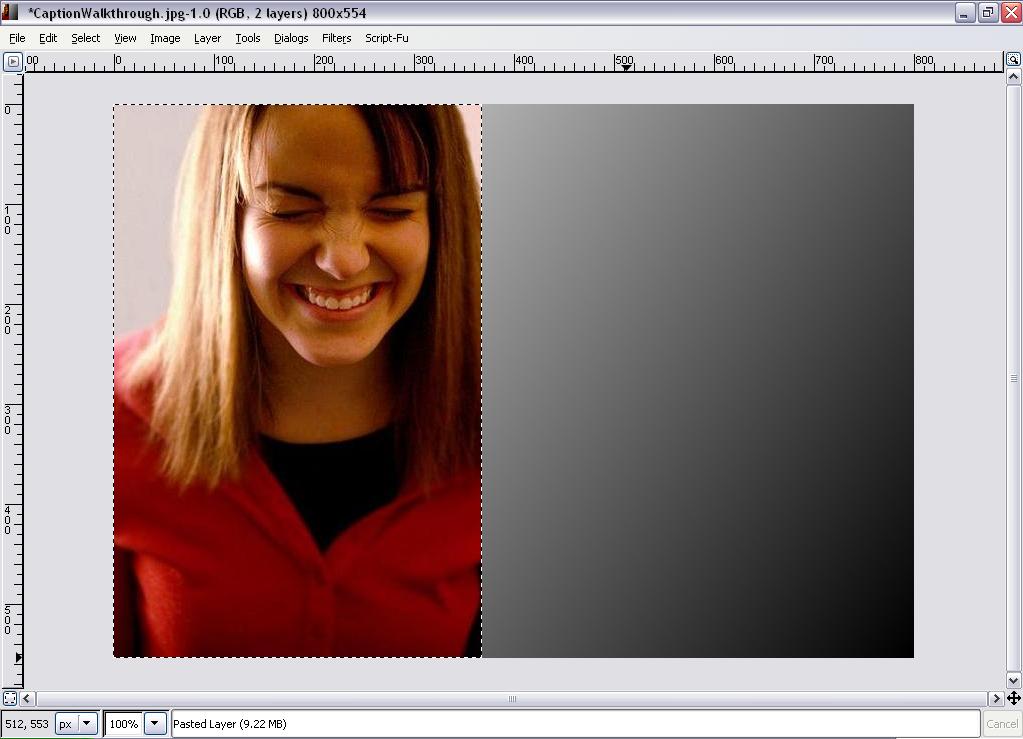 While you still have picture selected, move it wherever you want the final image to be. Careful! If you drop it before you have it lined up where you want it, it may clip the edges! |
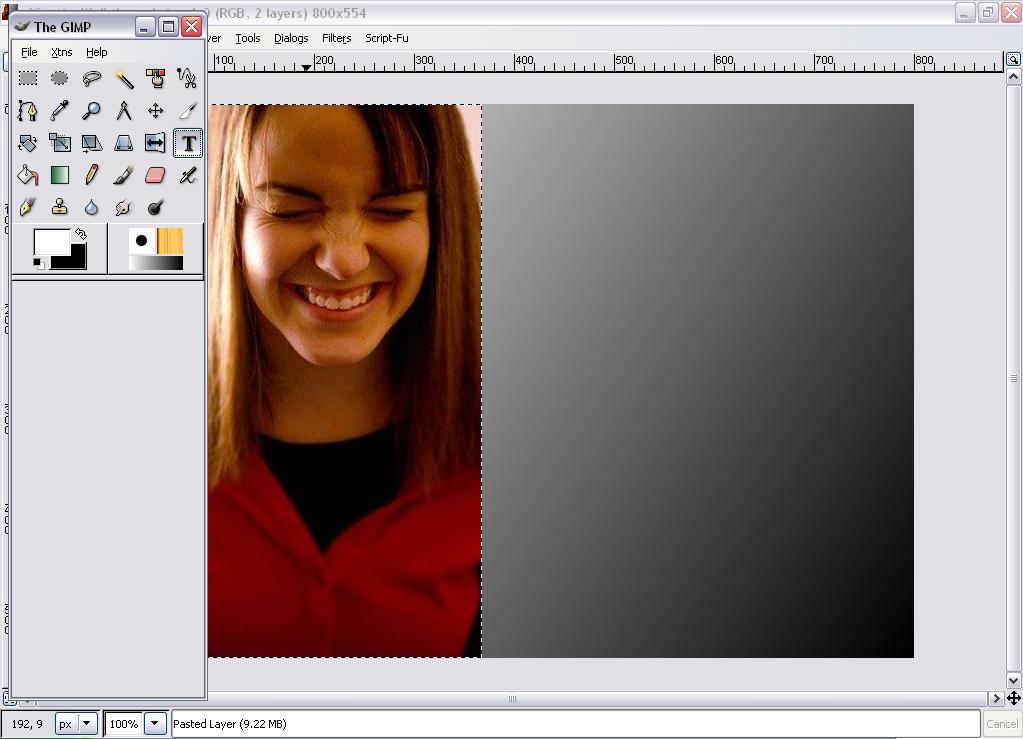 Once you have your picture positioned how you want it, bring the Toolbox up and select the Text Tool marked in the picture. It's a button on the right side of the box marked with a 'T'. |
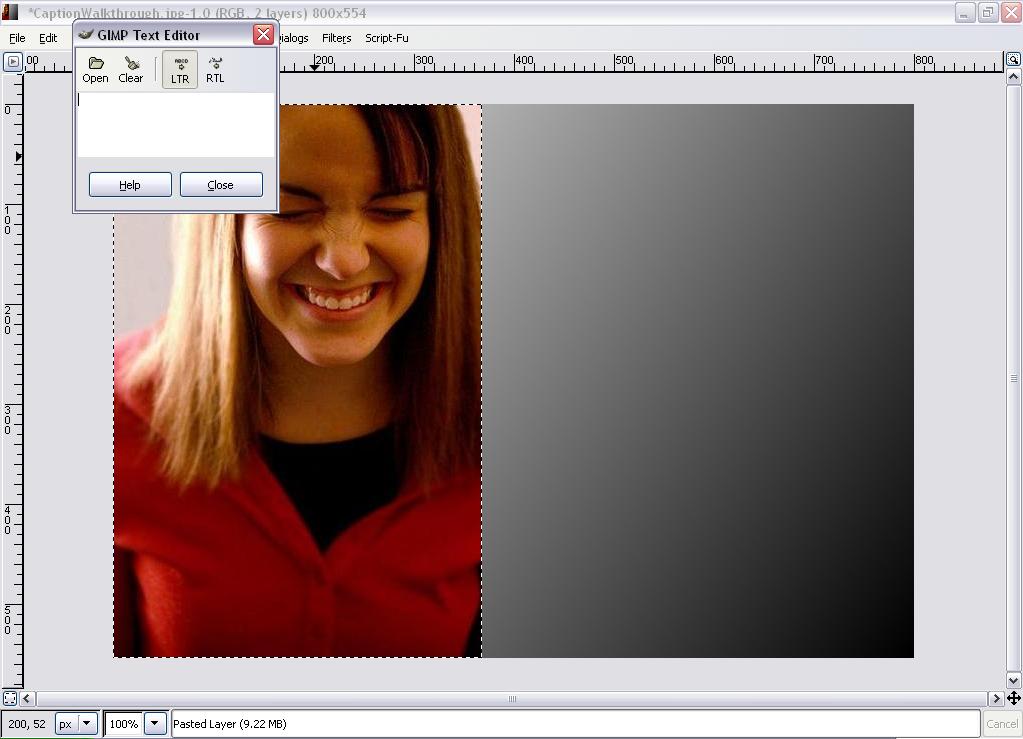 Now that the tool is active, find the spot on your background that you'd like your caption to start. Once you click, a small, basic box appears. |
 Type your caption here, and as you type it appears on the background. Wait, why don't I have any Font options? |
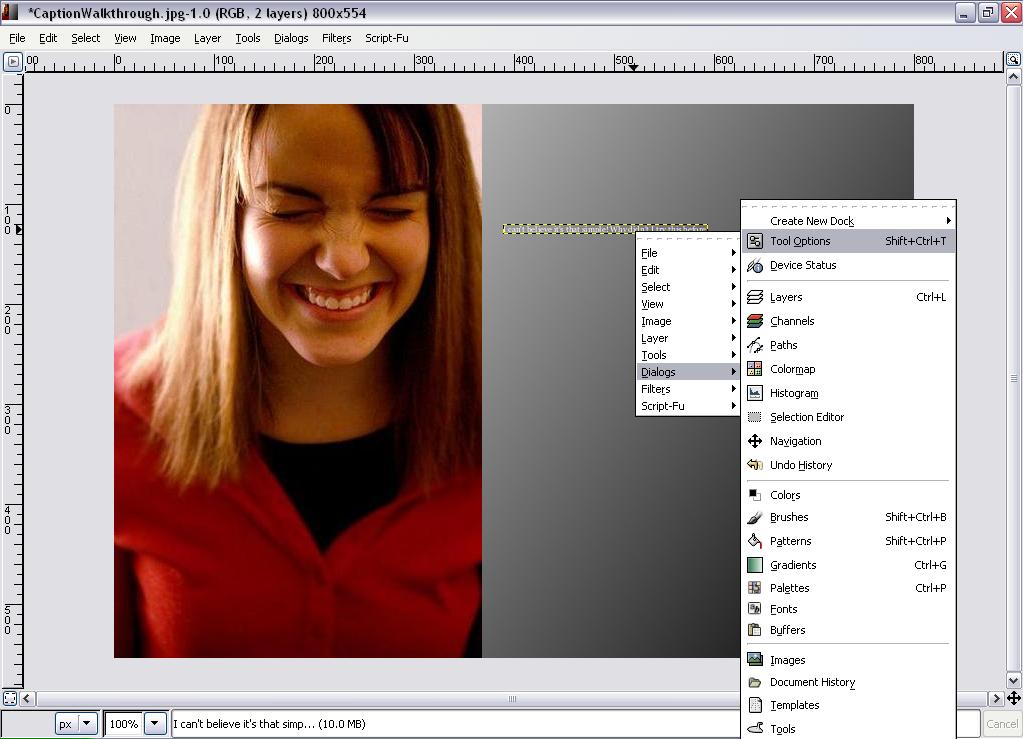 Right click on the text that appeared on your background, select the 'Dialogs' menu, and click on 'Tool Options'. |
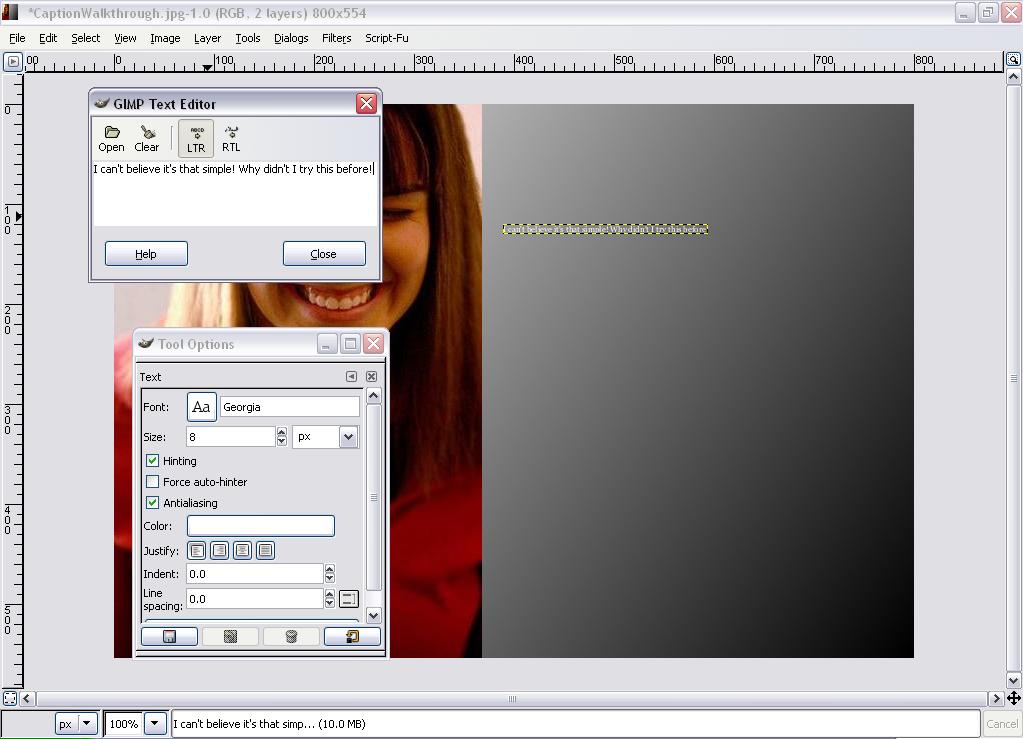 Choose your font, I chose Ariel, a font size, I chose 50, and watch as the text on your background changes to match! |
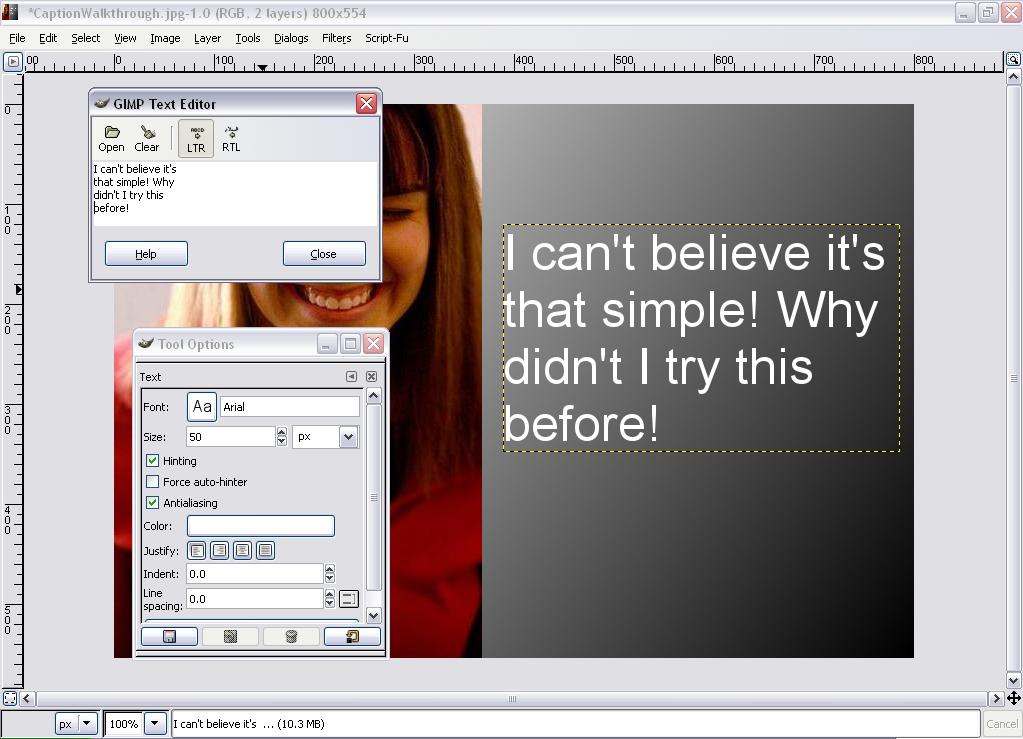 Using that same text box, create separate lines so that your cap is all on the background. |
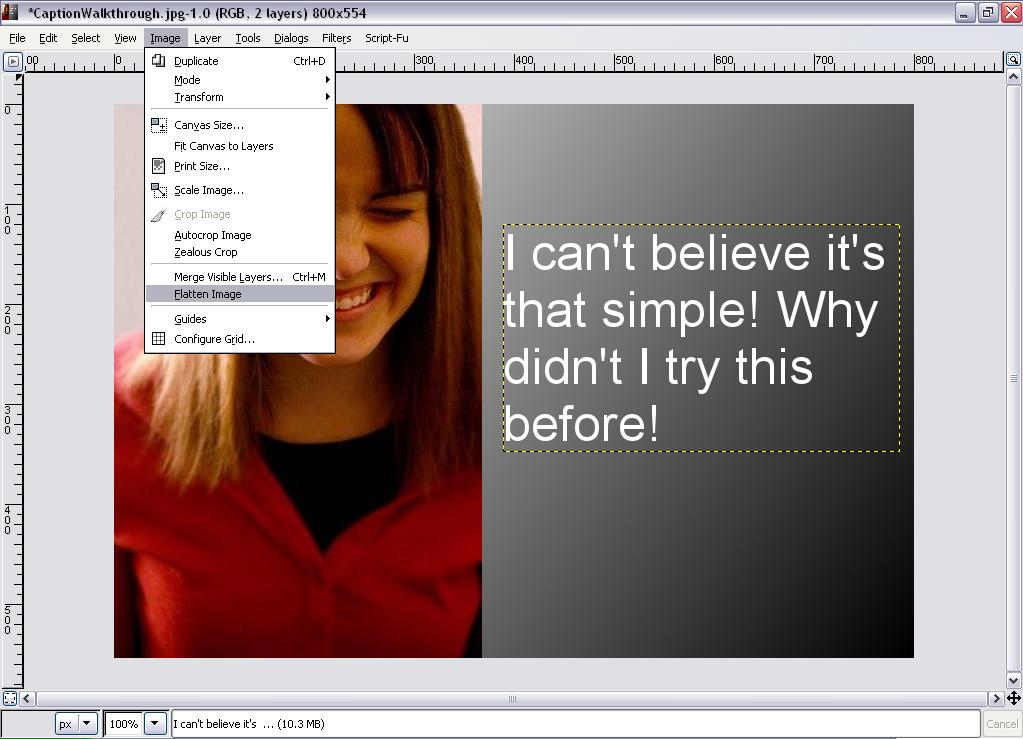 Now that you've written the cap, there's just one more thing before you can save it as a JPEG, we need to flatten the image. Go to the 'Image' menu, and select 'Flatten Image'. |
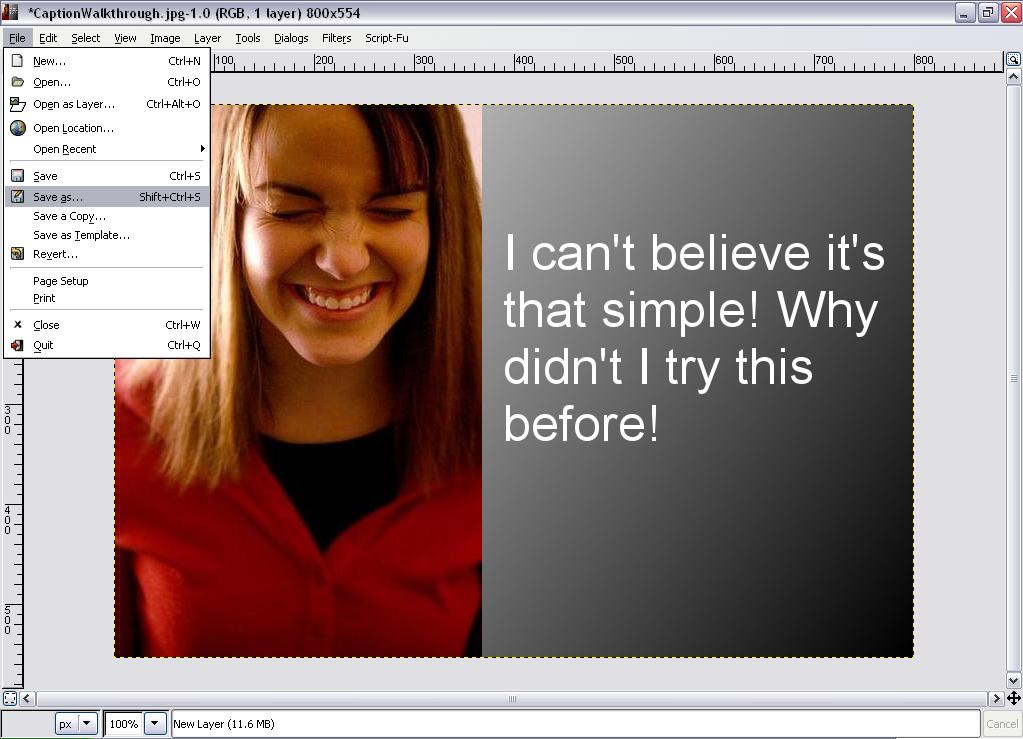 Once it's done, Go to the 'File' menu and select save as, naming your captioned picture however you see fit. |
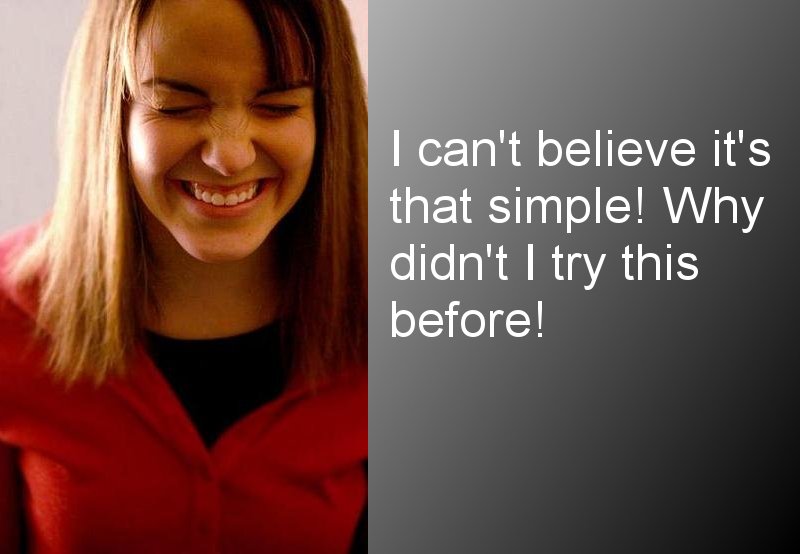 Now you're all set to upload it to share with the world! |